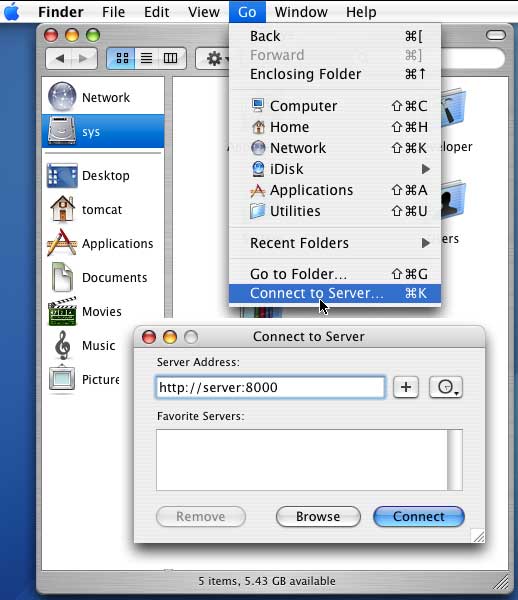
How To Make Mac A File Server For Windows
In the image above, the heart next to ”See you then!' Here's how to do it: • Control-click a message bubble to open a shortcut menu. • Choose Tapback from the menu. Error on mac os sierra for imessages. Is a Tapback.
There are multiple solutions to transfer files between Windows and Mac over WiFi, this includes the solution to transfer large files too. In the second system (MAC), you can copy synced files from cloud drive to your system hard disk to make sure a local copy on your system hard disk. Pavel Ignatov/123RF. If you send or download things on a frequent basis, you have probably encountered your share of “zipped” files. These files have been compressed to cut down on the file size, making it quicker to upload or download them.
Advertisement File sharing between Macs and Windows is a little lopsided. Out of the box, Macs can detect any Windows computer connected to the local network. It appears right on the Finder’s sidebar.
So naturally, it is very easy for a Windows user to share their files with anyone on a Mac. The reverse process—allowing a Mac to share its files—requires a little more attention. The transition from Tiger to Leopard has made it a little bit more complicated for regular users to set up shared folders because the setting has been “disguised”. In this week’s Macnifying OS X, I’m going to show you how easy it is to share files on your Mac so that it appears on Windows computers automatically. If you’re thinking of making the switch from Windows to Mac, take a look at this Every Windows user should know the basics of working on a Mac. Here's a quick guide to help Mac newcomers find their way around.
In System Preferences, go to ‘Sharing’ and check the box for ‘File Sharing’. By default, only your Public Folder will be shared. If you want to add other folders to the shared list, click on the ‘+’ sign under the Shared Folder box and choose the folders you wish to share. After you’re done selecting, you’ll need to set the Permissions for each shared folder. Generally, you should allow Read Only rights to avoid others from messing around with your files. As you can see from the screenshot below, I removed the group labelled ‘Users’ from the users list so only ‘Everyone’ and I appear on the list.
I do this to make things easier, only to allow guests logins from other computers. On your Windows desktop, right-click on ‘My Computer’ and select Properties. Click on the ‘Computer Name’ tab and make sure that your workgroup is the same as the one set on your Mac.
If it isn’t, then click on ‘Change’, set it and restart your computer. Once that is done, double-click on ‘My Network Places’ and voila, all of your Mac’s shared folders should be visible.
Take note that the Drop Box in your Mac’s Public folder won’t be accessible. If you want to use the Drop Box to let other users “drop” their files onto your Mac, you’ll need to change its permissions.
On your Mac’s Home folder, double-click the Public folder. Right-click on Drop Box and choose ‘Get Info’.

Click on the lock icon on the bottom right hand corner of the Info window and enter your account password.  Then set the permission for Everyone to Read & Write hence, allowing anyone to conveniently “drop” files onto your Mac.
Hi Saththiyan, As you said Mac just not support NTFS. According my search result some third party products could help access NTFS partitions. However these are not tested so you may need to confirm before using on your environment: Please Note: The third-party products discussed here are manufactured by companies that are independent of Microsoft.